使用Hugo构建博客
创建站点
1
2
3
|
mechrevo@fedora:~/文档$ mkdir blog.553762.xyz
mechrevo@fedora:~/文档$ cd blog.553762.xyz
mechrevo@fedora:~/文档/blog.553762.xyz$ hugo new site blog.553762.xyz
|

安装hugo-theme-stack主题
1
2
3
|
mechrevo@fedora:~/文档/blog.553762.xyz$ git init
mechrevo@fedora:~/文档/blog.553762.xyz$ git submodule add https://github.com/CaiJimmy/hugo-theme-stack.git themes/hugo-theme-stack
mechrevo@fedora:~/文档/blog.553762.xyz$ cp -rf themes/hugo-theme-stack/exampleSite/* ./
|
编辑hugo.yaml,对Hugo进行设置,关键部分如下
 1
 2
 3
 4
 5
 6
 7
 8
 9
10
11
12
13
14
15
16
|
baseurl: https://blog.553762.xyz/
languageCode: zh-cn
theme: hugo-theme-stack
title: 观云听涛
copyright: 553762.xyz. All Rights Reserved.

DefaultContentLanguage: zh-cn

pagination:
    pagerSize: 30

markup:
    tableOfContents:
        endLevel: 6
        ordered: true
        startLevel: 1
|
构建并运行
1
|
mechrevo@fedora:~/文档/blog.553762.xyz$ hugo server
|
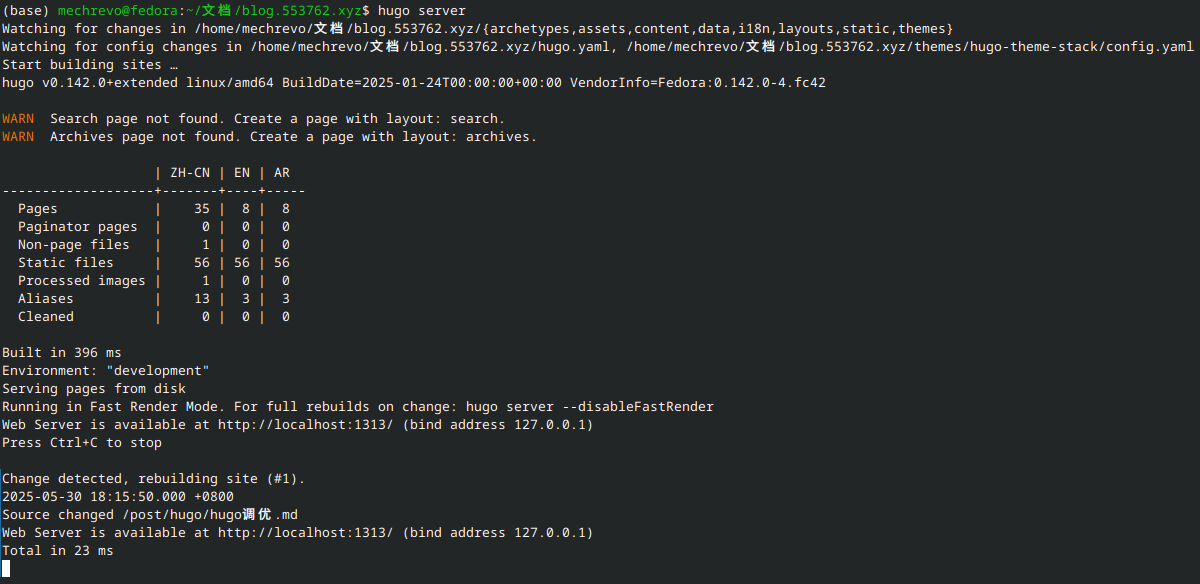
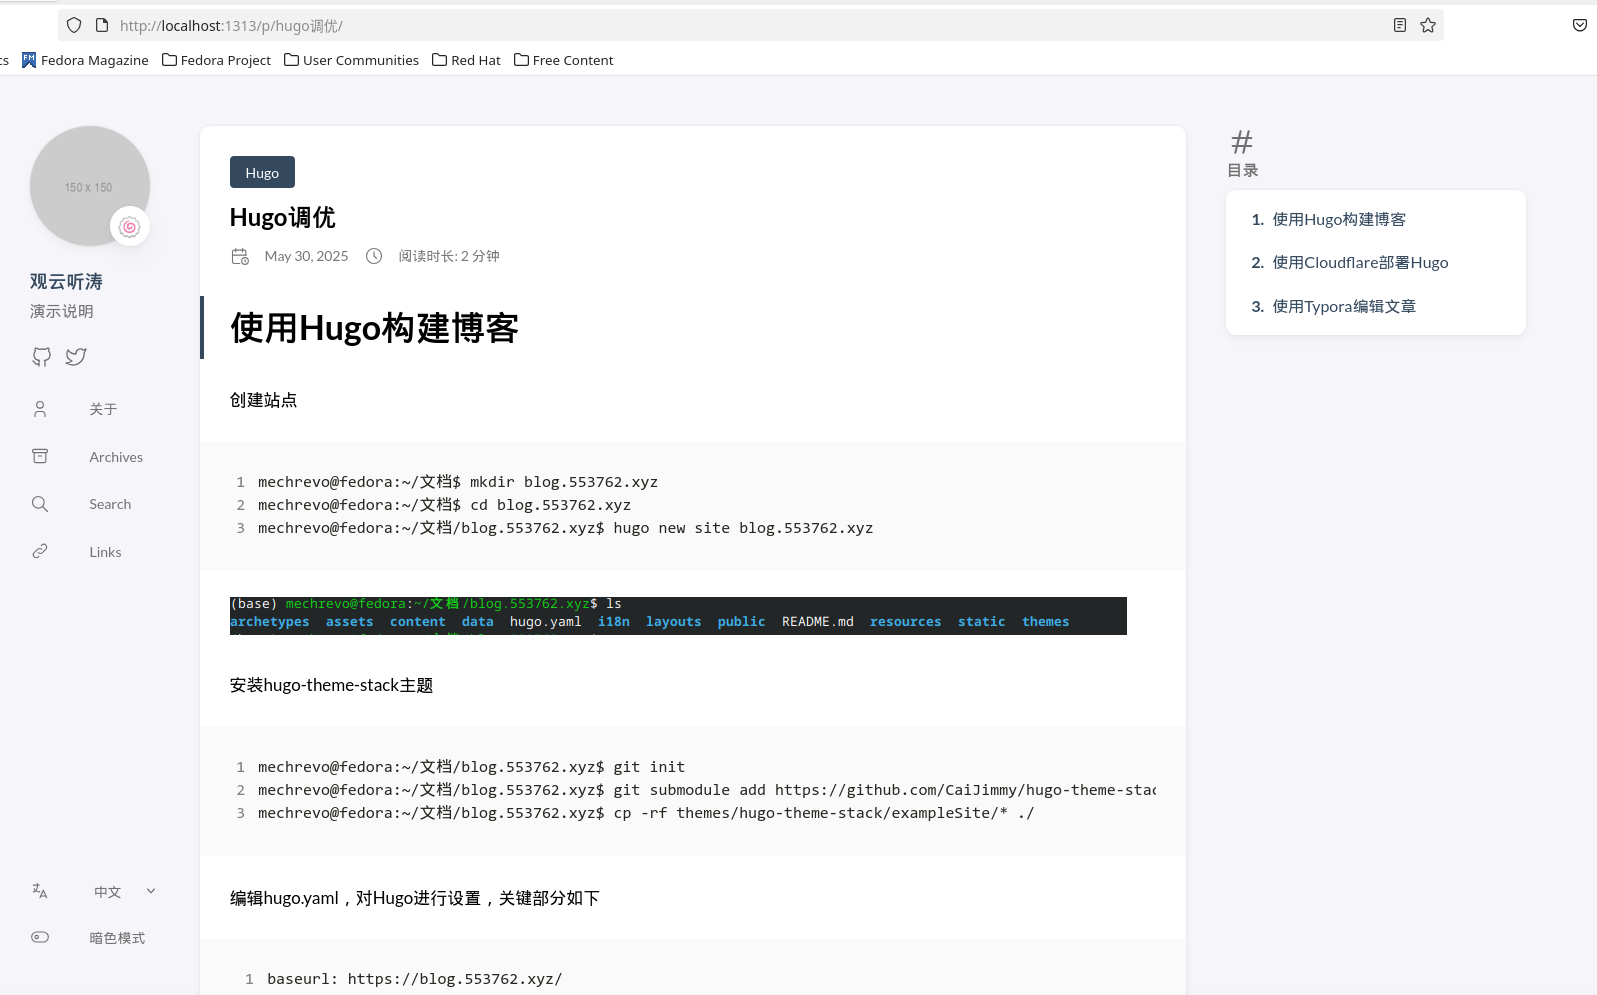
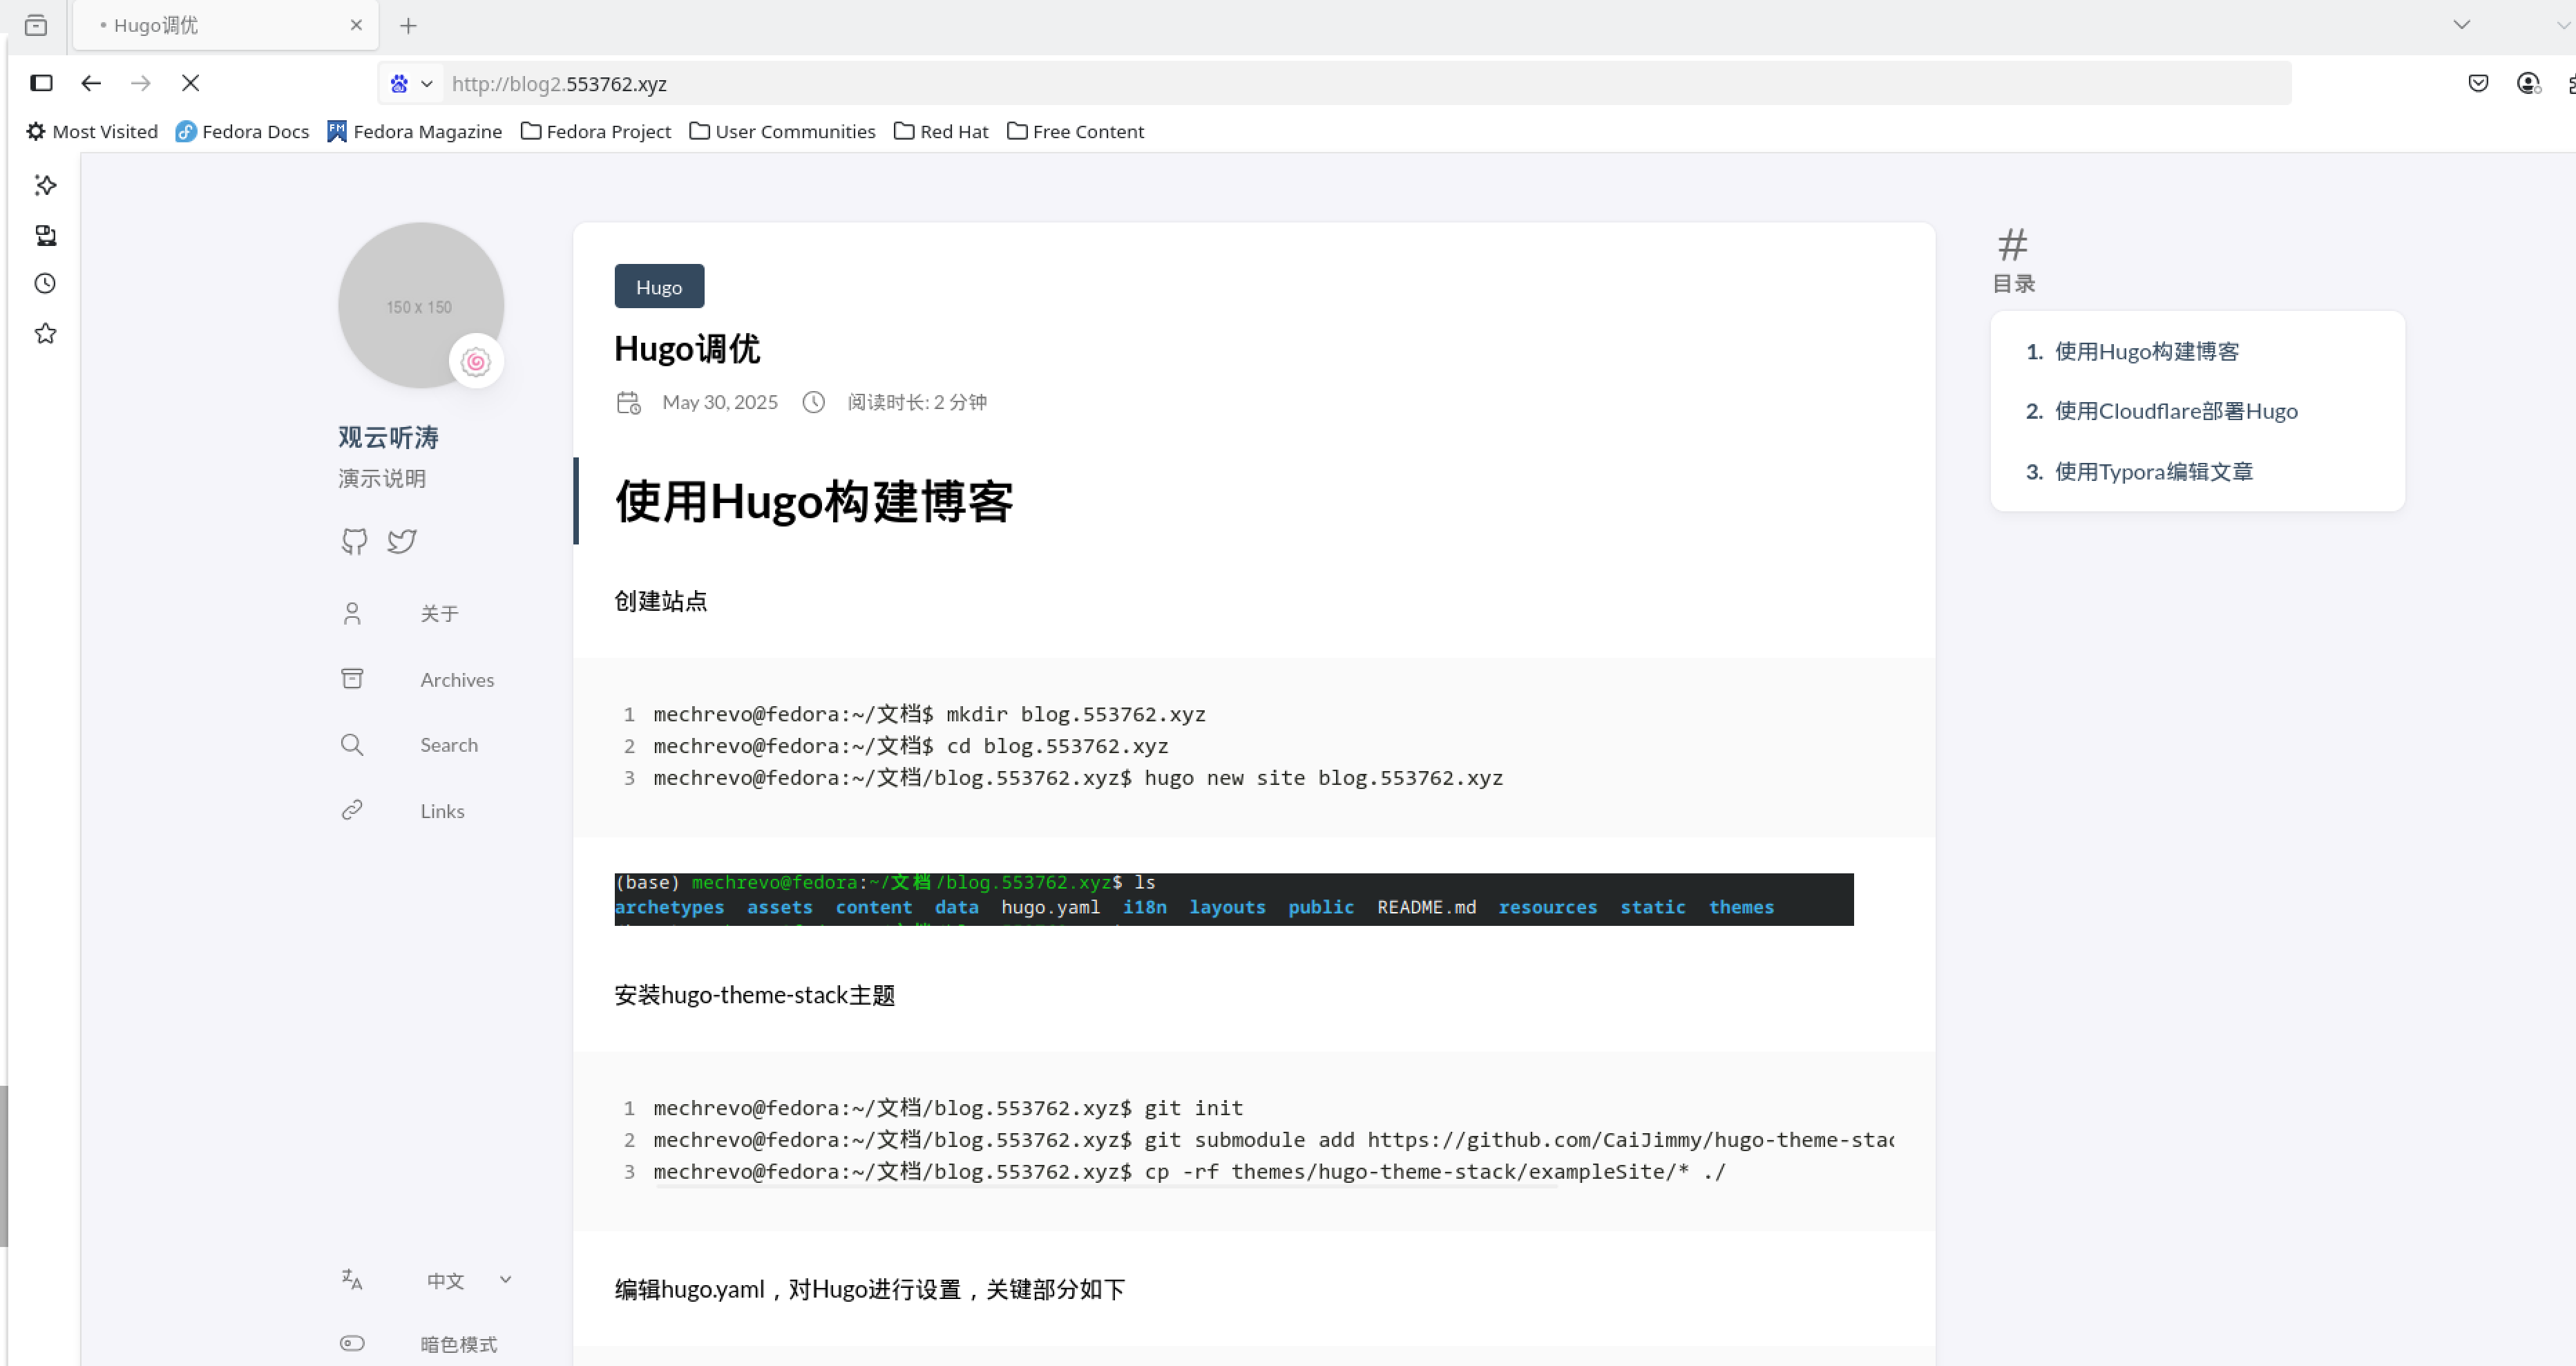
浏览器打开
使用Cloudflare部署Hugo
在GitHub中建立仓库,将本地blog.553762.xyz推送至GitHub。
注意:建立.gitignore文件,忽略public/路径下的所有文件,该路径的文件会在构建后自动生成,因此不必上传仓库。
进行Cloudflare控制台,创建Page
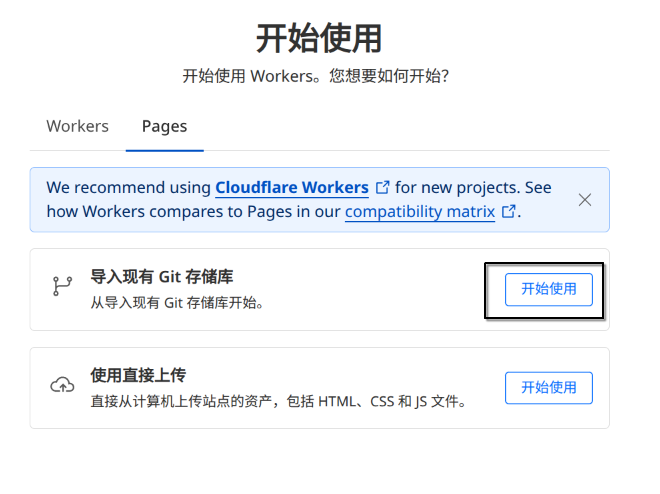
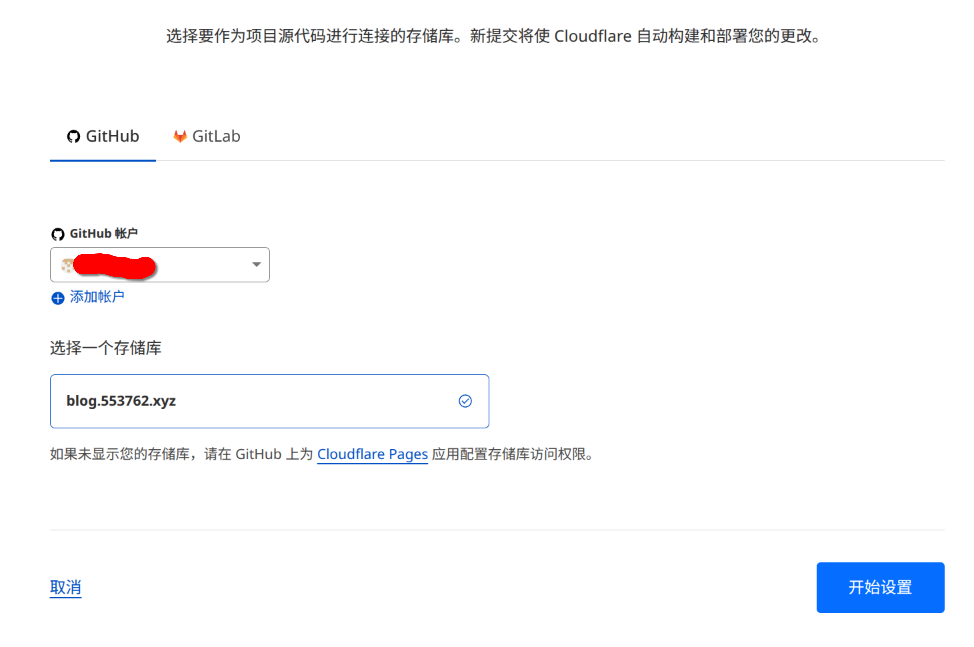
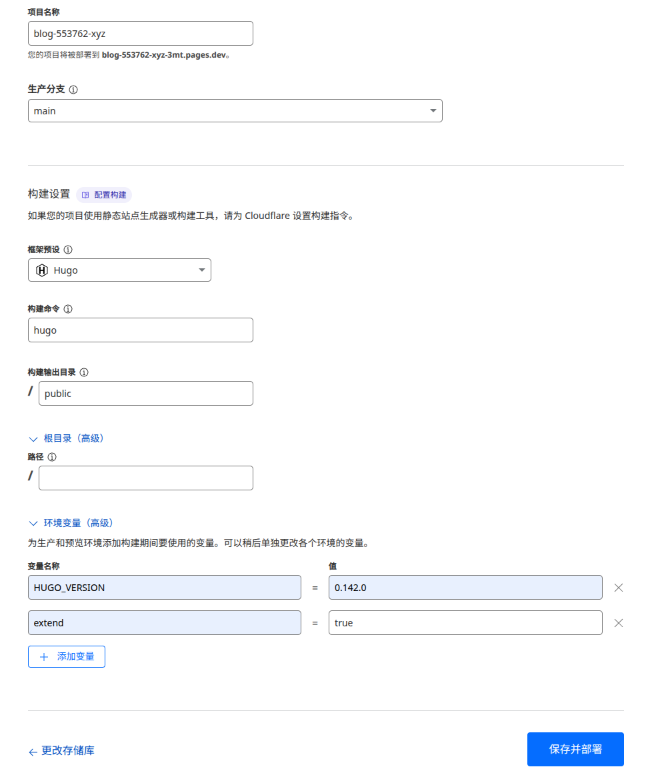
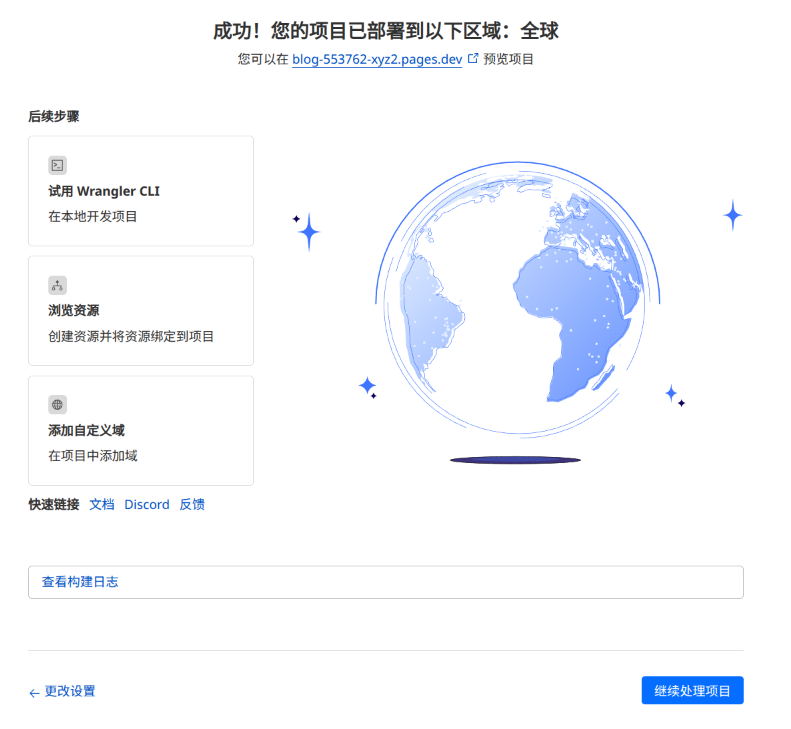
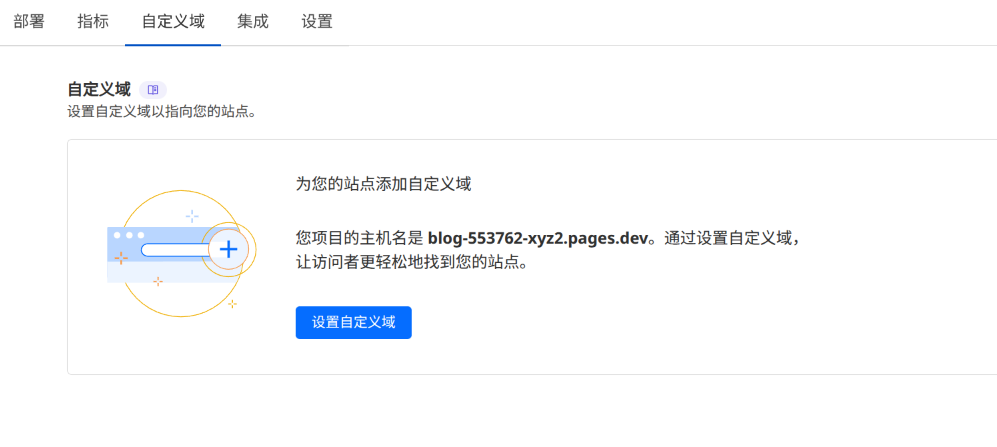
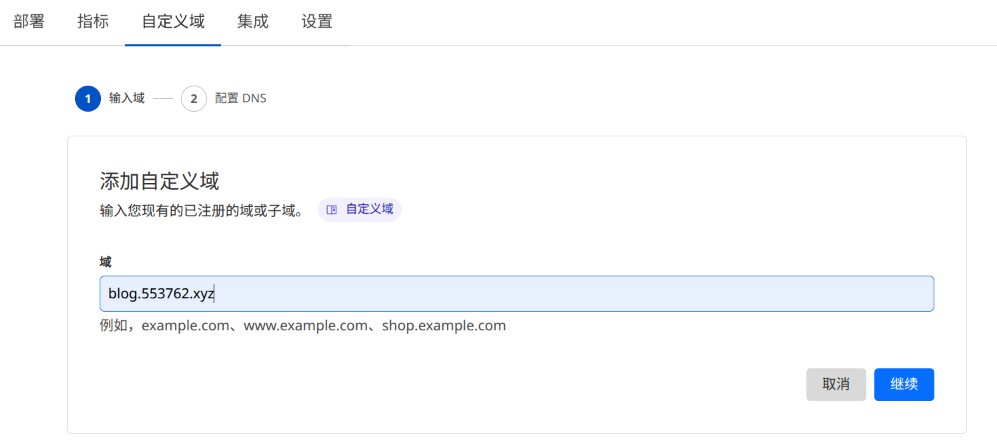
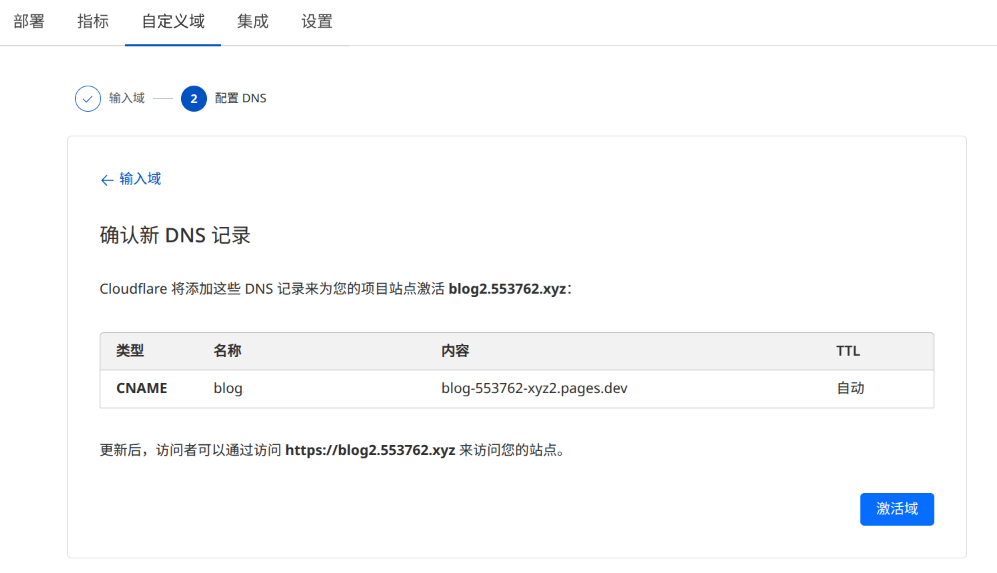
打开浏览器
修改文章并Push后,会触发Page的构建
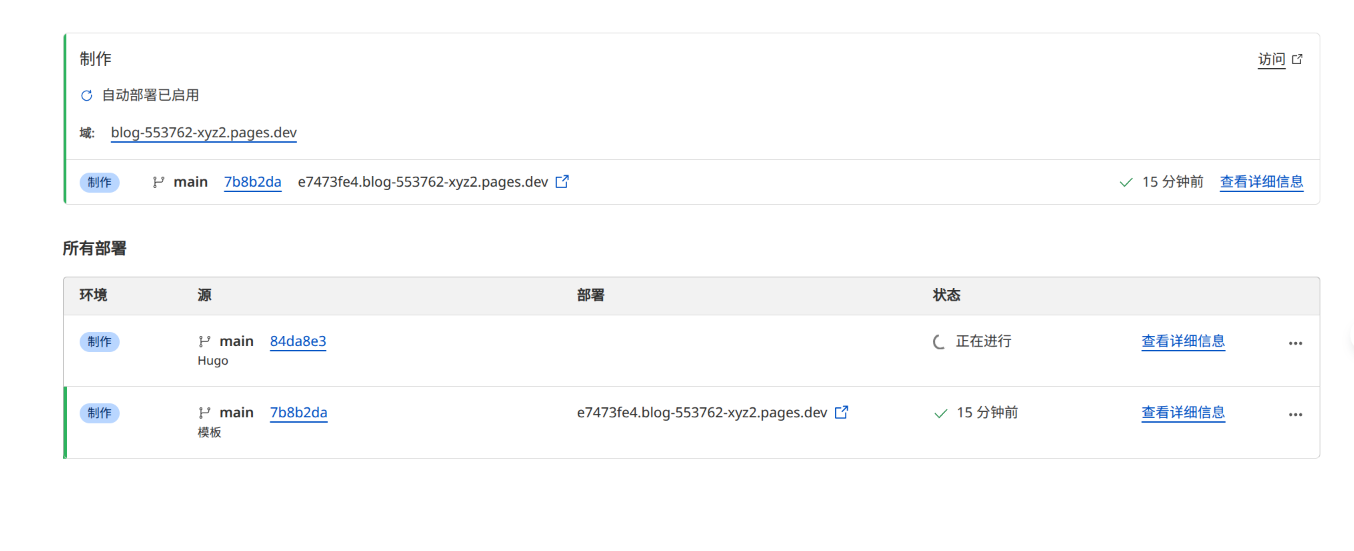
构建完成后,文章就会被更新了
使用Typora编辑文章
编辑Hugo文章模板,Hugo根目录下的archetypes/default.md文件,修改为如下所示
 1
 2
 3
 4
 5
 6
 7
 8
 9
10
11
12
13
14
15
16
17
18
19
|
---
title: "{{ replace .Name "-" " " | title }}"
date: {{ .Date }}
draft: true
{{- "\n" -}}
{{- $path := .File.Dir -}}
{{- $depth := len (split $path "/") -}}
{{- $up := "" -}}
{{- range $i, $_ := (seq $depth) -}}
    {{- $up = printf "../%s" $up -}}
{{- end -}}
{{- $root_url := printf "%sstatic" $up -}}
typora-root-url: {{ $root_url }}
{{- "\n" -}}
typora-copy-images-to: {{ $root_url }}/{{ replace (trim .File.Dir "/") "post/" "" }}/{{ replace .Name "-" " " | title }}
{{- "\n" -}}
{{- $categories := split (trim (replace .File.Dir "post/" "") "/") "/" -}}
categories: [{{- range $i, $category := $categories -}}"{{ $category }}"{{- if ne $i (sub (len $categories) 1) -}}, {{- end -}}{{- end -}}]
---
|
创建文档
1
|
mechrevo@fedora:~/文档/blog.553762.xyz$ hugo new post/Hugo/Hugo调优.md
|
使用Typora打开Hugo.md文件 如下图

此时插入图片,将会复制到static目录下,构建后将被复制到public目录下,实现图片在Typora和Hugo同时进行显示。
构建并启动
1
|
mechrevo@fedora:~/文档/blog.553762.xyz$ hugo server .
|
添加广告位
在右边栏最上部添加广告位 以widgets方式实现
创建一个widgets 创建themes/hugo-theme-stack/layouts/partials/widget/advertisement.html 内容如下
 1
 2
 3
 4
 5
 6
 7
 8
 9
10
11
12
13
14
15
16
17
18
19
20
21
22
23
24
25
26
27
28
29
30
31
32
33
34
35
36
37
38
39
40
41
|
{{- /* $title := .Params.title | default "广告位" */ -}}

<div class="widget advertisement">
    <!-- 不显示标题 -->
    <div class="widget-content">
        <div class="advertisement-container">
            <!-- Google AdSense 广告代码 -->
            <script async src="https://pagead2.googlesyndication.com/pagead/js/adsbygoogle.js?client=ca-pub-xxxxxxxxxxxxxxxx"
                 crossorigin="anonymous"></script>
            <!-- 侧边栏 -->
            <ins class="adsbygoogle"
                 style="display:block"
                 data-ad-client="ca-pub-xxxxxxxxxxxxxxxx"
                 data-ad-slot="xxxxxxxxxx"
                 data-ad-format="auto"
                 data-full-width-responsive="true"></ins>
            <script>
                 (adsbygoogle = window.adsbygoogle || []).push({});
            </script>
        </div>
    </div>

    <style>
        .advertisement-container {
            padding: 10px;
            background: var(--card-background);
            border-radius: var(--card-border-radius);
            box-shadow: var(--card-shadow);
            margin-bottom: 1rem;
            min-height: 100px; /* 为广告预留最小高度 */
            display: flex;
            justify-content: center;
            align-items: center;
        }
        /* 确保广告容器在加载时不会闪烁 */
        .adsbygoogle {
            min-height: 100px;
            width: 100%;
        }
    </style>
</div>
|
启用 hugo.yaml文件中 widgets节
 1
 2
 3
 4
 5
 6
 7
 8
 9
10
11
12
13
14
15
16
|
    widgets:
        homepage:
            - type: advertisement
            - type: search
            - type: archives
              params:
                  limit: 5
            - type: categories
              params:
                  limit: 10
            - type: tag-cloud
              params:
                  limit: 10
        page:
            - type: advertisement
            - type: toc
|


